How to setup an automatic scrolling lyrics prompter in GP using “Thorsten’s LivePrompter“
To follow this little tutorial you have to download the small software package under:
It is totally free and only around 7mb, so don’t hesitate.
And don’t forget to buy Thorsten a free cup of coffee at
https://ko-fi.com/coffee_for_torsten
as he does this all for us musicians in his freetime ![]()
If you want to use a virtual midiport (like I do here) go to
https://www.tobias-erichsen.de/software/loopmidi.html
and download the loopmidi installer (also free software!)
SETTING UP LOOPMIDI:
-
Run the downloaded setupfile and start loopmidi.
-
Type in a name for your new midiport in the marked field and hit the little „+“.
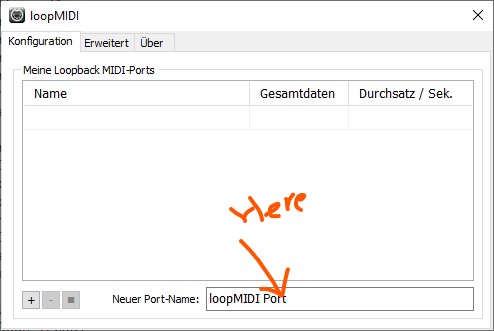
I will call the port „Midiport-Prompter“. When you’re done the port will show up in the list and is ready to go.
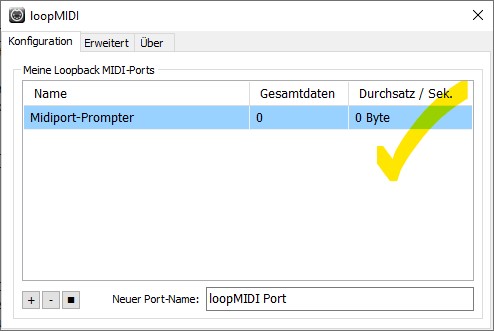
You can close the window as loopmidi will stay active in the taskbar.
TWEAKING INI-FILE OF LIVEPROMPTER:
-
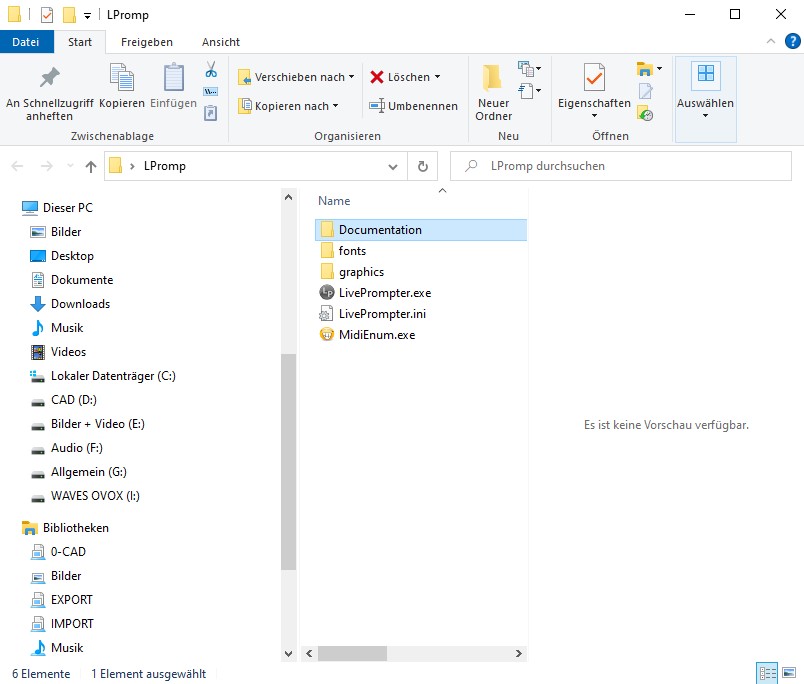
Navigate to the directory containing your downloaded LivePrompter, it will look like this:
-
Now you have to open up „LivePrompter.ini“ in editor as this one needs some simple tweaks to get you running.
I highly recommend to read the ecxellent manual for further tweaking the .ini file, as there are many more possibilites to customize settings!!
- You have to declare the path to your lyrics (*.txt) files under „HomeDirectory“ and setup the used midi variables (keep an eye on your MidiInPort as it has to have the exact spelling of your generated loopmidi port!). I will use CC36 to communicate PlayStop button, but you can use any controller you like.
Further you can decide if you want to use the prompter in fullscreenmode or not (resizable window).
Simply change “Fullscreen=yes” to “no” if you want as I do.
Here’s a screenshot with the edited areas marked:

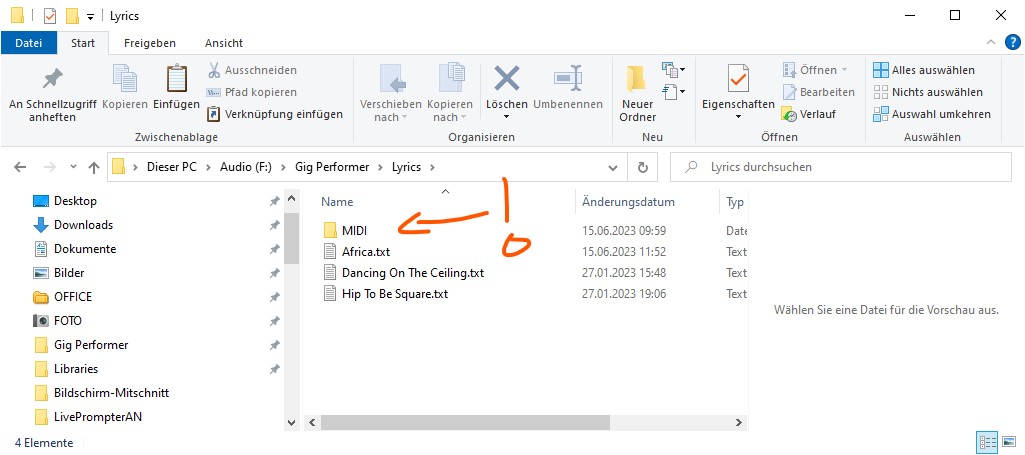
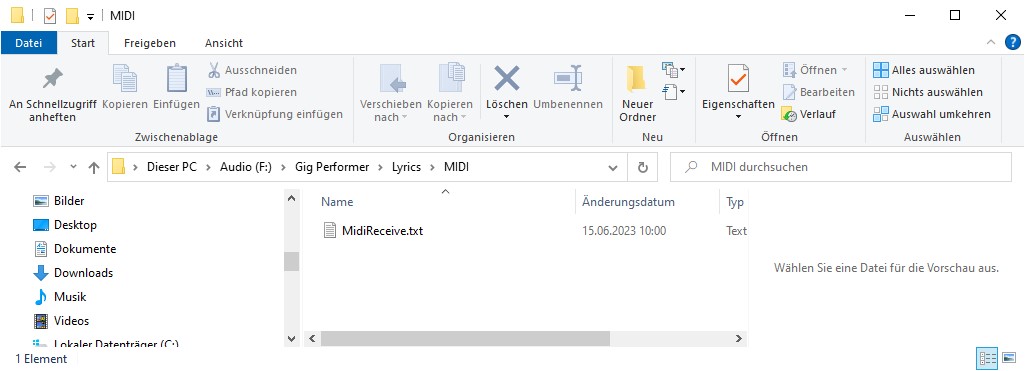
- Open your lyrics folder. To receive program changes you have to tell LivePrompter which *.txt file is connected to which program change number.
Therefore you have to generate a folder called “MIDI” inside your lyrics folder and inside this “MIDI” folder there has to be a txt-file called “MidiReceive.txt” (don’t change names here!)
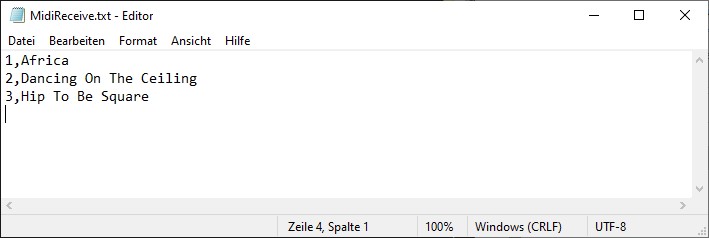
If you open this textfile it has to contain a simple list with the PC-Number, Title of lyrics-file (beware of correct spelling!)
Here you can see the example file:
That’s all for the prompter, now let’s turn to GigPerformer:
CUSTOMIZE GIGPERFORMER TO CHANGE THE LYRICS PAGES:
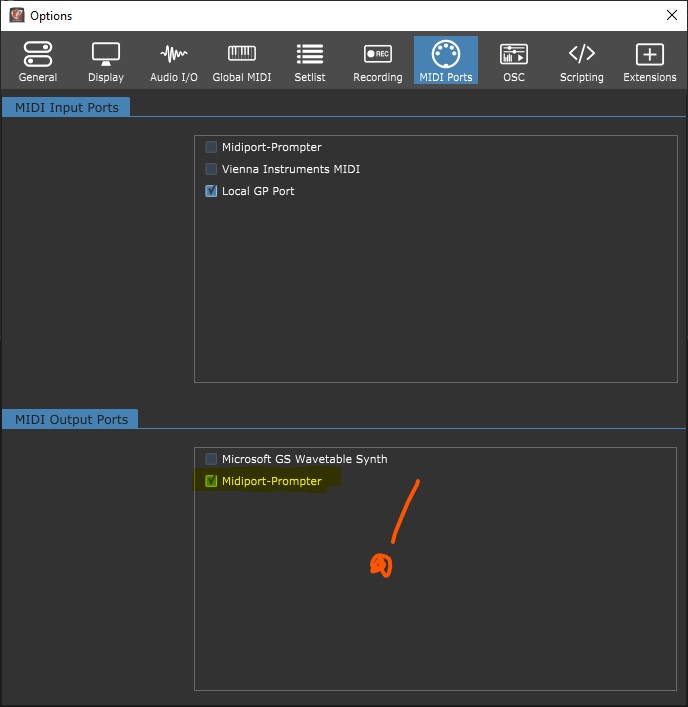
1.In GP navigate to Options->MIDI Ports and make sure your created „Midiport-Prompter“ is activated under MIDI Output Ports.
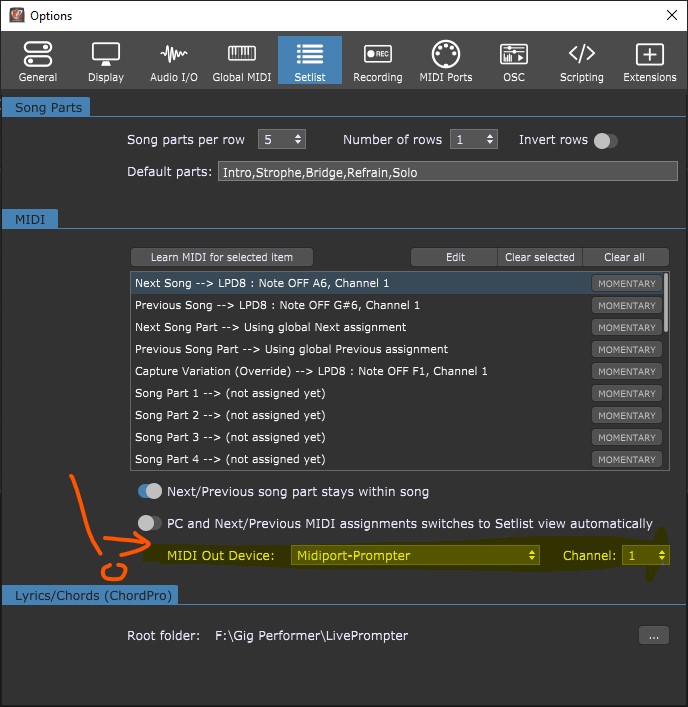
2.Move on to Options->Setlist and make sure you select the right MIDI Out Device and Channel in the lower part of the window. (Must be the same as in the LivePrompter ini file)
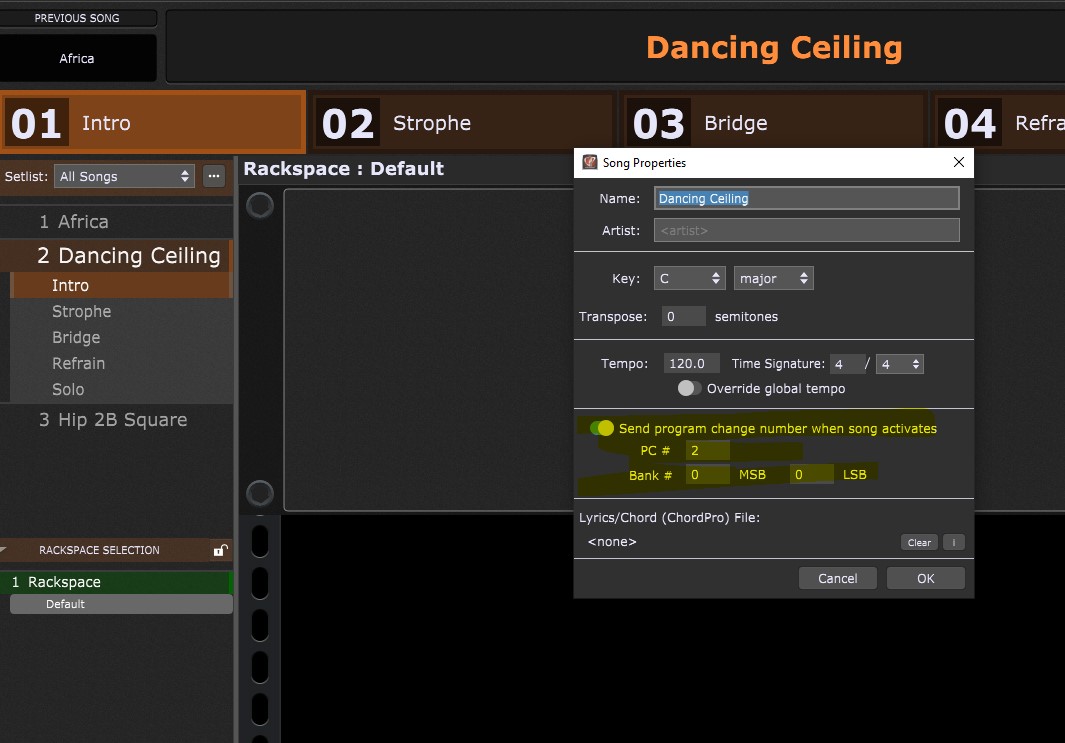
- In your setlistview you have to select every song you need to connect with a lyrics file, right click on it and under „song properties…“ activate „Send program change number when song activates“ and enter your desired PC-Number.
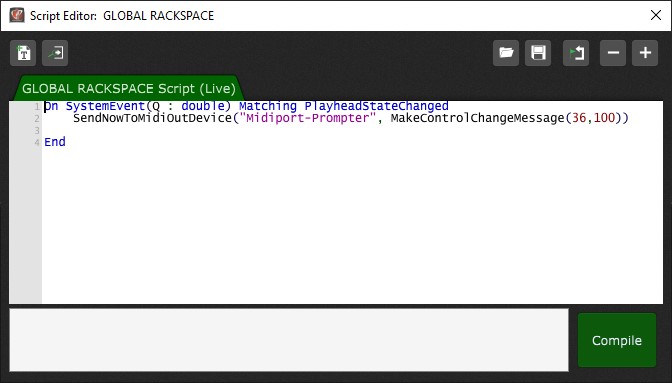
4.Now to the advanced part: As I didn’t know another possibility to send out the change of the global playhead of GP, you have to use a (very) small global script to get the signal out of GP.
Maybe there is an easier way to achieve this, dhj will let us know if there is a better way.
So here is the small script, I will try to attache some files at the end of this tutorial to ease things up:
NOW IT’S TIME TO TRY THINGS OUT!!
I recommend to start the programs in this order:
-
Start GP
-
Start midiloop (to make sure port is really visible - it will blink up in GP in rackspace title bar when port gets connected)
-
Start Liveprompter.exe (if you setup your lyrics path correctly you should see your lyrics titles in the window)
-
Hit „GO“ in LivePrompter (if lyrics window is covering all your screen use the burger menue in the upper right and the green x to quit the window, set „FullScreen=no“ in INI-file to get a customizable lyrics window).
-
If everything was setup correctly you can navigate your setlist songs and LivePrompter will change to the correct lyrics page. If you hit GP Play button Prompter will start „playing“ (scrolling using the timestamps you defined)
One hint to tweaking the scrolling tempo:
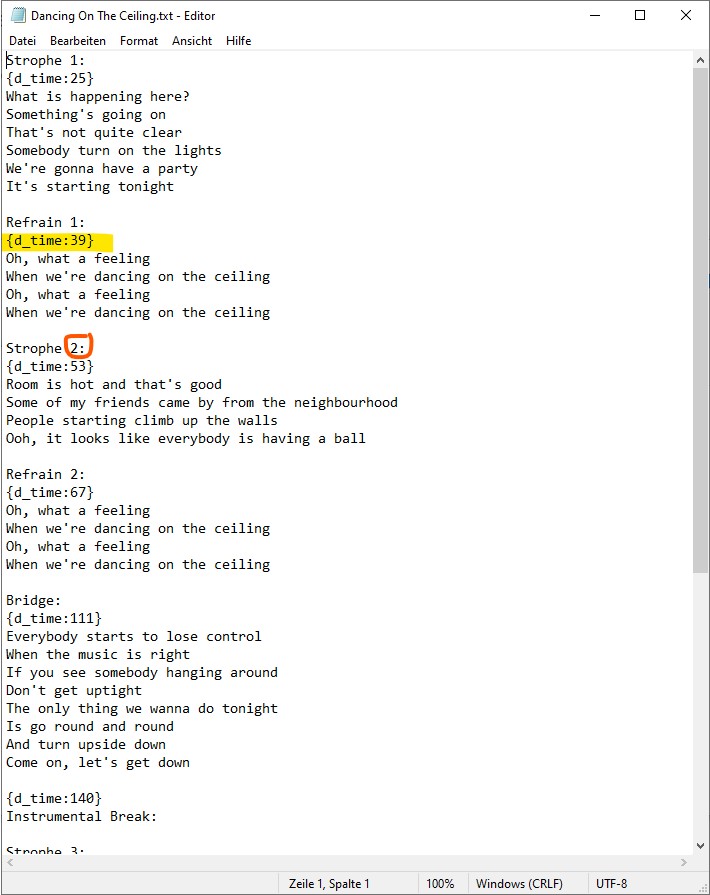
As you can see in my lyrics files there a few lines in curved brackets - they mark the song time position in seconds!
You don’t need to use this feature (i think you can use bpm as well - refer to the excellent manual of LivePrompter!), but it really helps to make sure that the correct line is showing even in very narrow windows.
Here you can see the timestamps, the orange marked doubledot brings out a highlighted line on the prompter and helps to clean things up on a bigger window.
So at the end I will attache a Zip-File which contains an already tweaked ini-file, the lyrics folder with 3-example files, the global script file and a gigfile containing only the 3 songs. Just ignore the audiosetup (no virtual ports necessary, as there is nothing connected)
I hope it works out for you that I didn’t forget any step to follow.
The example Files:
example-files.zip (11.5 KB)


