I’m trying to use Gig Performer with MCU extension 0.95 for a Presonus FaderPort 8
The example MCU Demo 458.gig allow me to use Faders, Mute and Select and it is ok for me.
But :
“Solo” doesn’t work : I create a widget with GPScript Handle “mc_solo_bank_0”, named the widget Solo1 and in the Global Rackspace, named Solo1 in the channel One (same for Solo2 , Solo3 …)
I can switch between knob banks with Previous and Next of the Faderport but I haven’t find how to switch between Fader banks
Any ideas.
Thank you.
for information : with another .gig that I create, without Scripting, I"ve succeed to use Faders Mute and Select. Still here, Solo doesn’t work for channels 1 to 3 but it works for channels 4 to 8.
Different MCU clones put different buttons in different places, and some lack some of the buttons on the MCU or require holding a “shift” key or something to produce those.
When I wrote the MCU extension I tried to accommodate the ones I was familiar with by giving the user the option to select different controllers from the “Extensions → MCU” menu that would assign appropriate buttons.
I don’t know what the buttons available on the FaderPort 8 are, and don’t know which ones would be the most convenient for cycling through Fader banks. I would think the “<<” and “>>” buttons and the “Prev” and “Next” buttons would be the logical ones to scroll through banks.
If those are the ones you want to use, let me know what midi they generate and I can put that option into the extension. You can open the global midi monitor window to see what codes any of the buttons are sending. Just tell me which codes you want to use for what regarding the bank switching and I’ll see what I can do.
Regarding the problem with solo buttons, do the same global midi monitor thing and tell me what midi your solo buttons are sending.
The problem with your Solo buttons may be that if you didn’t change the extension options set in the Global rackspace the extension is using the Solo buttons to select Rackspaces and the Rec buttons to select Variations.
Go to the global rackspace and you’ll see the text widget that defines the button row linked to rackspace selection probably says “solo”. Change that to “none” or just delete it and your solo buttons should work. Same goes for the variation widget next to it.
For your other issue with the Rewind and FastForward keys try clicking at the top “Extensions → MCU Extension → MCU Standard Layout” and see if that changes it. I was generally using an iCon P1-M so that gigfile is probably set to use the iCon layout.
Is there a way to use MCU Extension without the demo GIG. Is there a documentation about the MCU Extension because Solo1 works with demo.gig but not with an empty gig + MCU Extension.
The only purpose of the demo gigfile is to demonstrate some of the concepts. You don’t need it past that.
If you use midi learn then you are either bypassing the extension entirely or going to create duplicate events as the extension and the widget you learn on will both try to act on the same midi.
There is a PowerPoint and a pdf version of the documentation in the github repository.
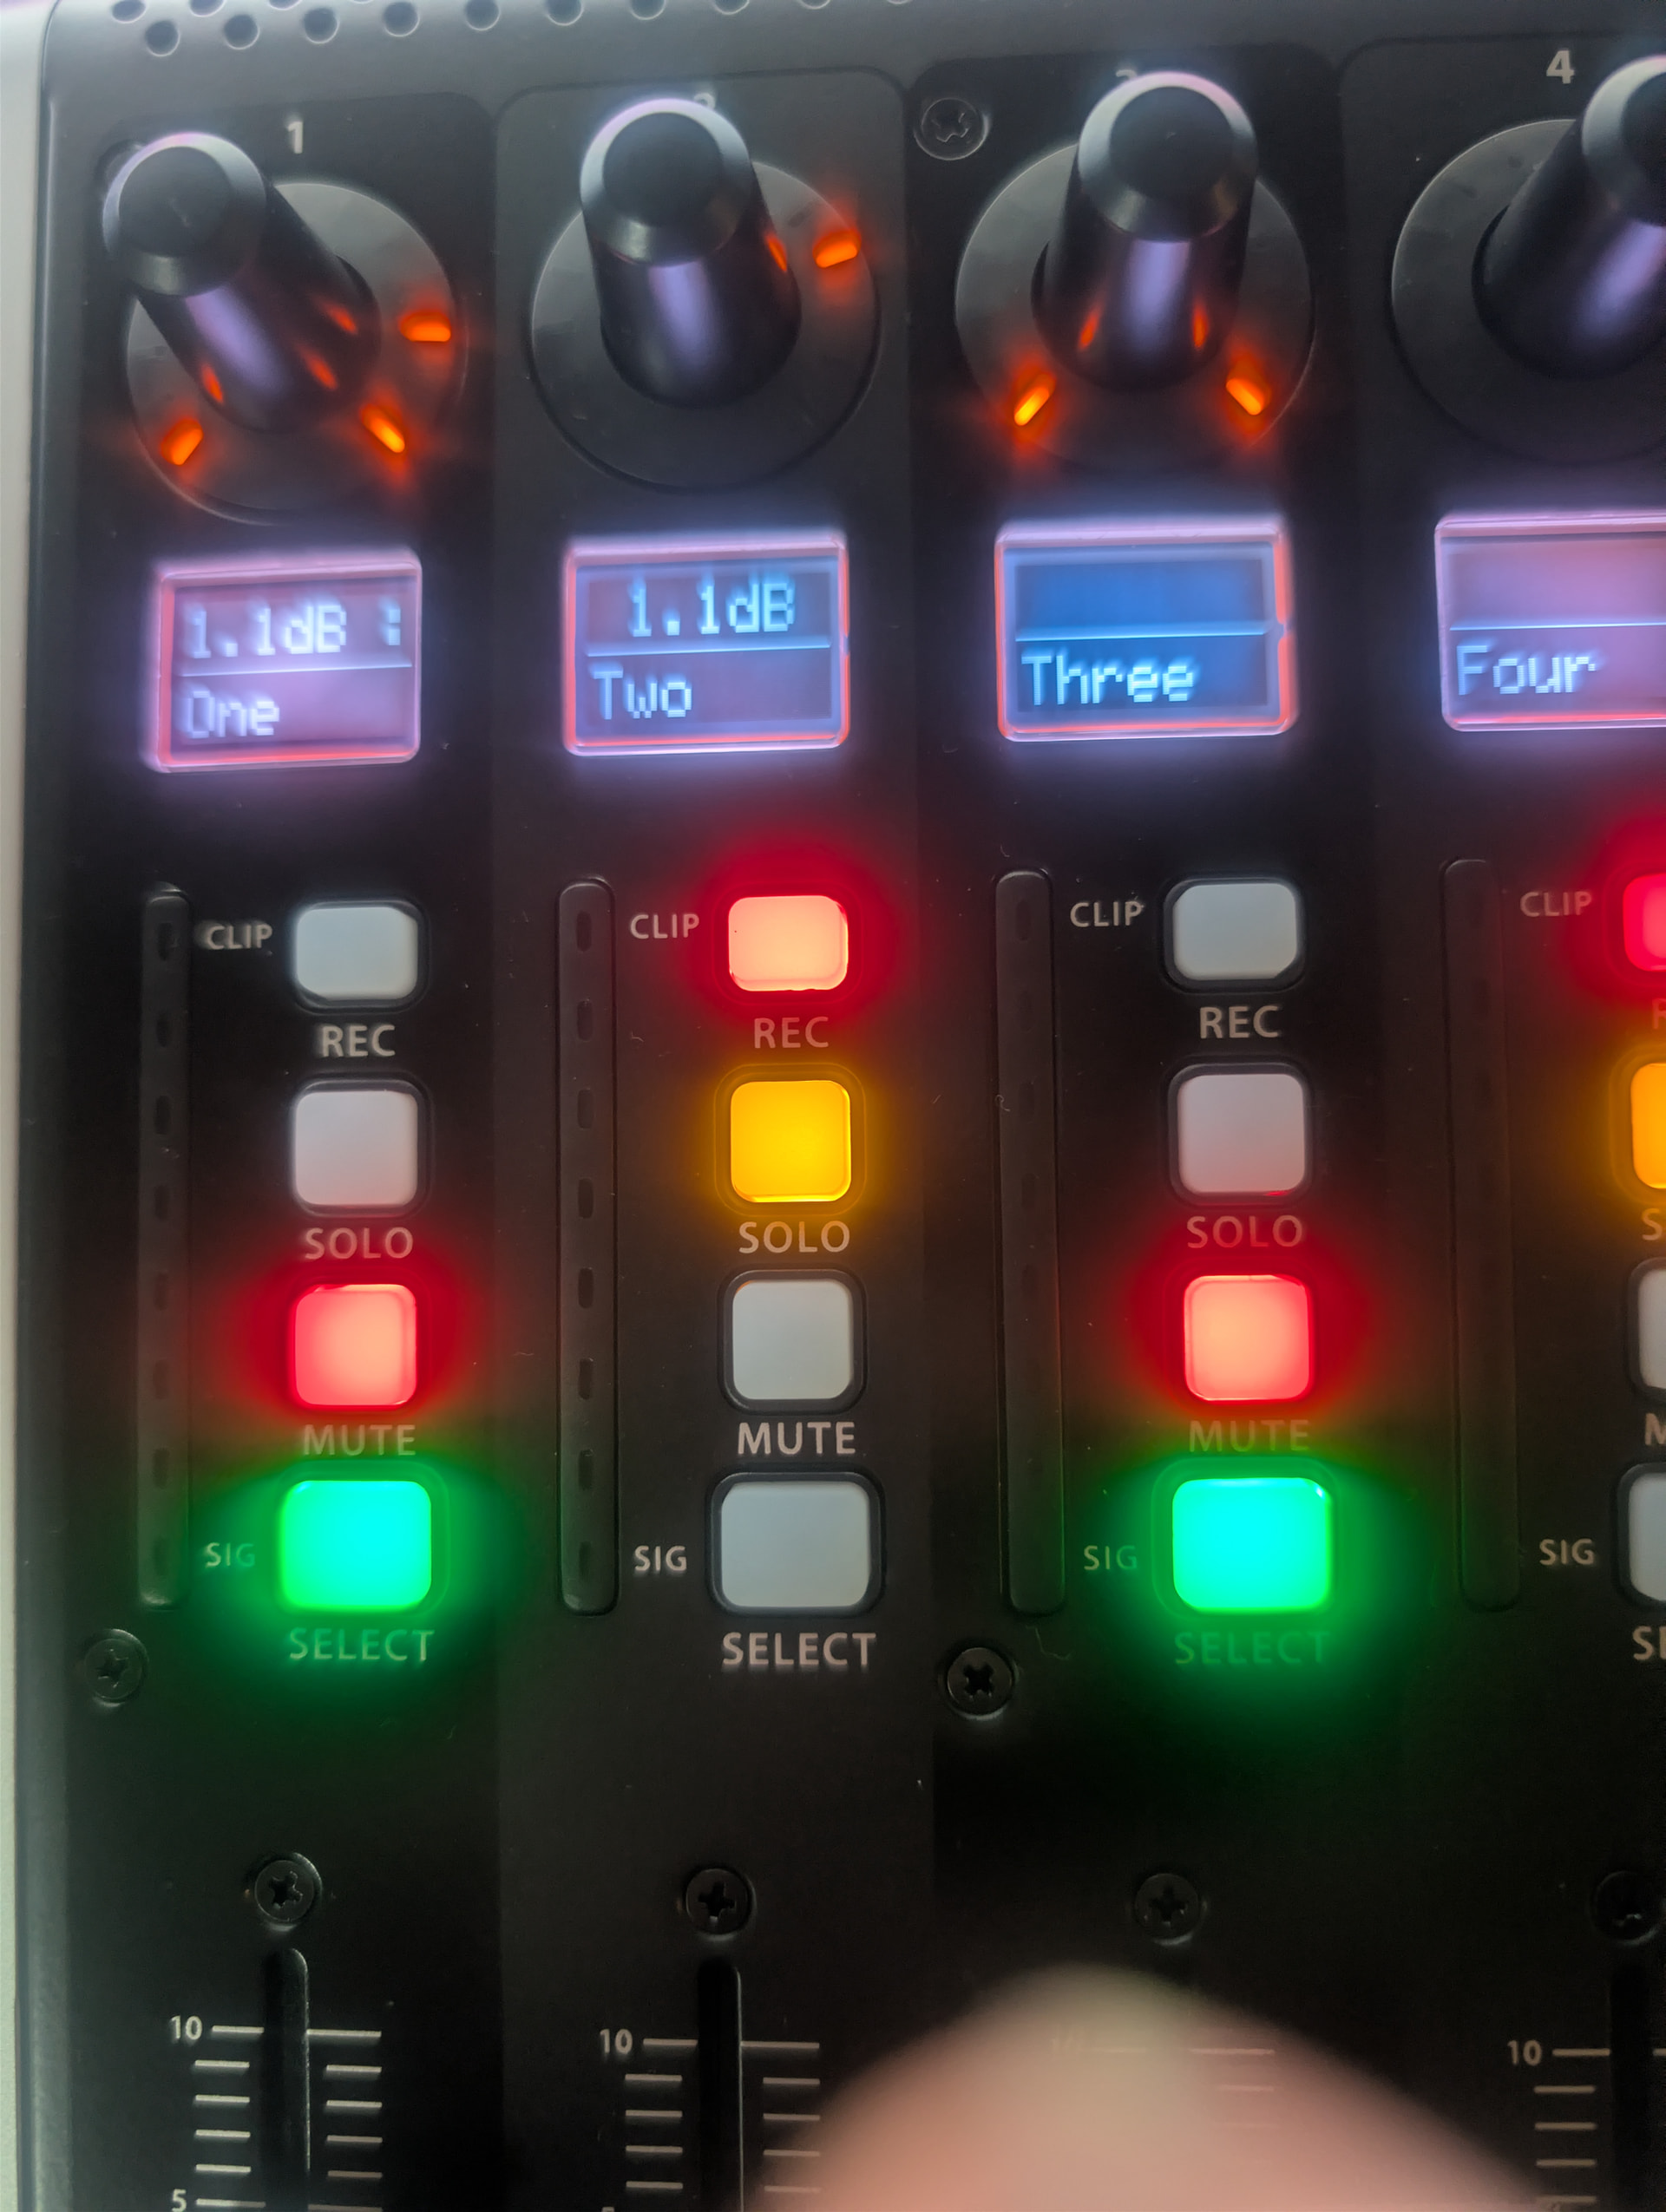
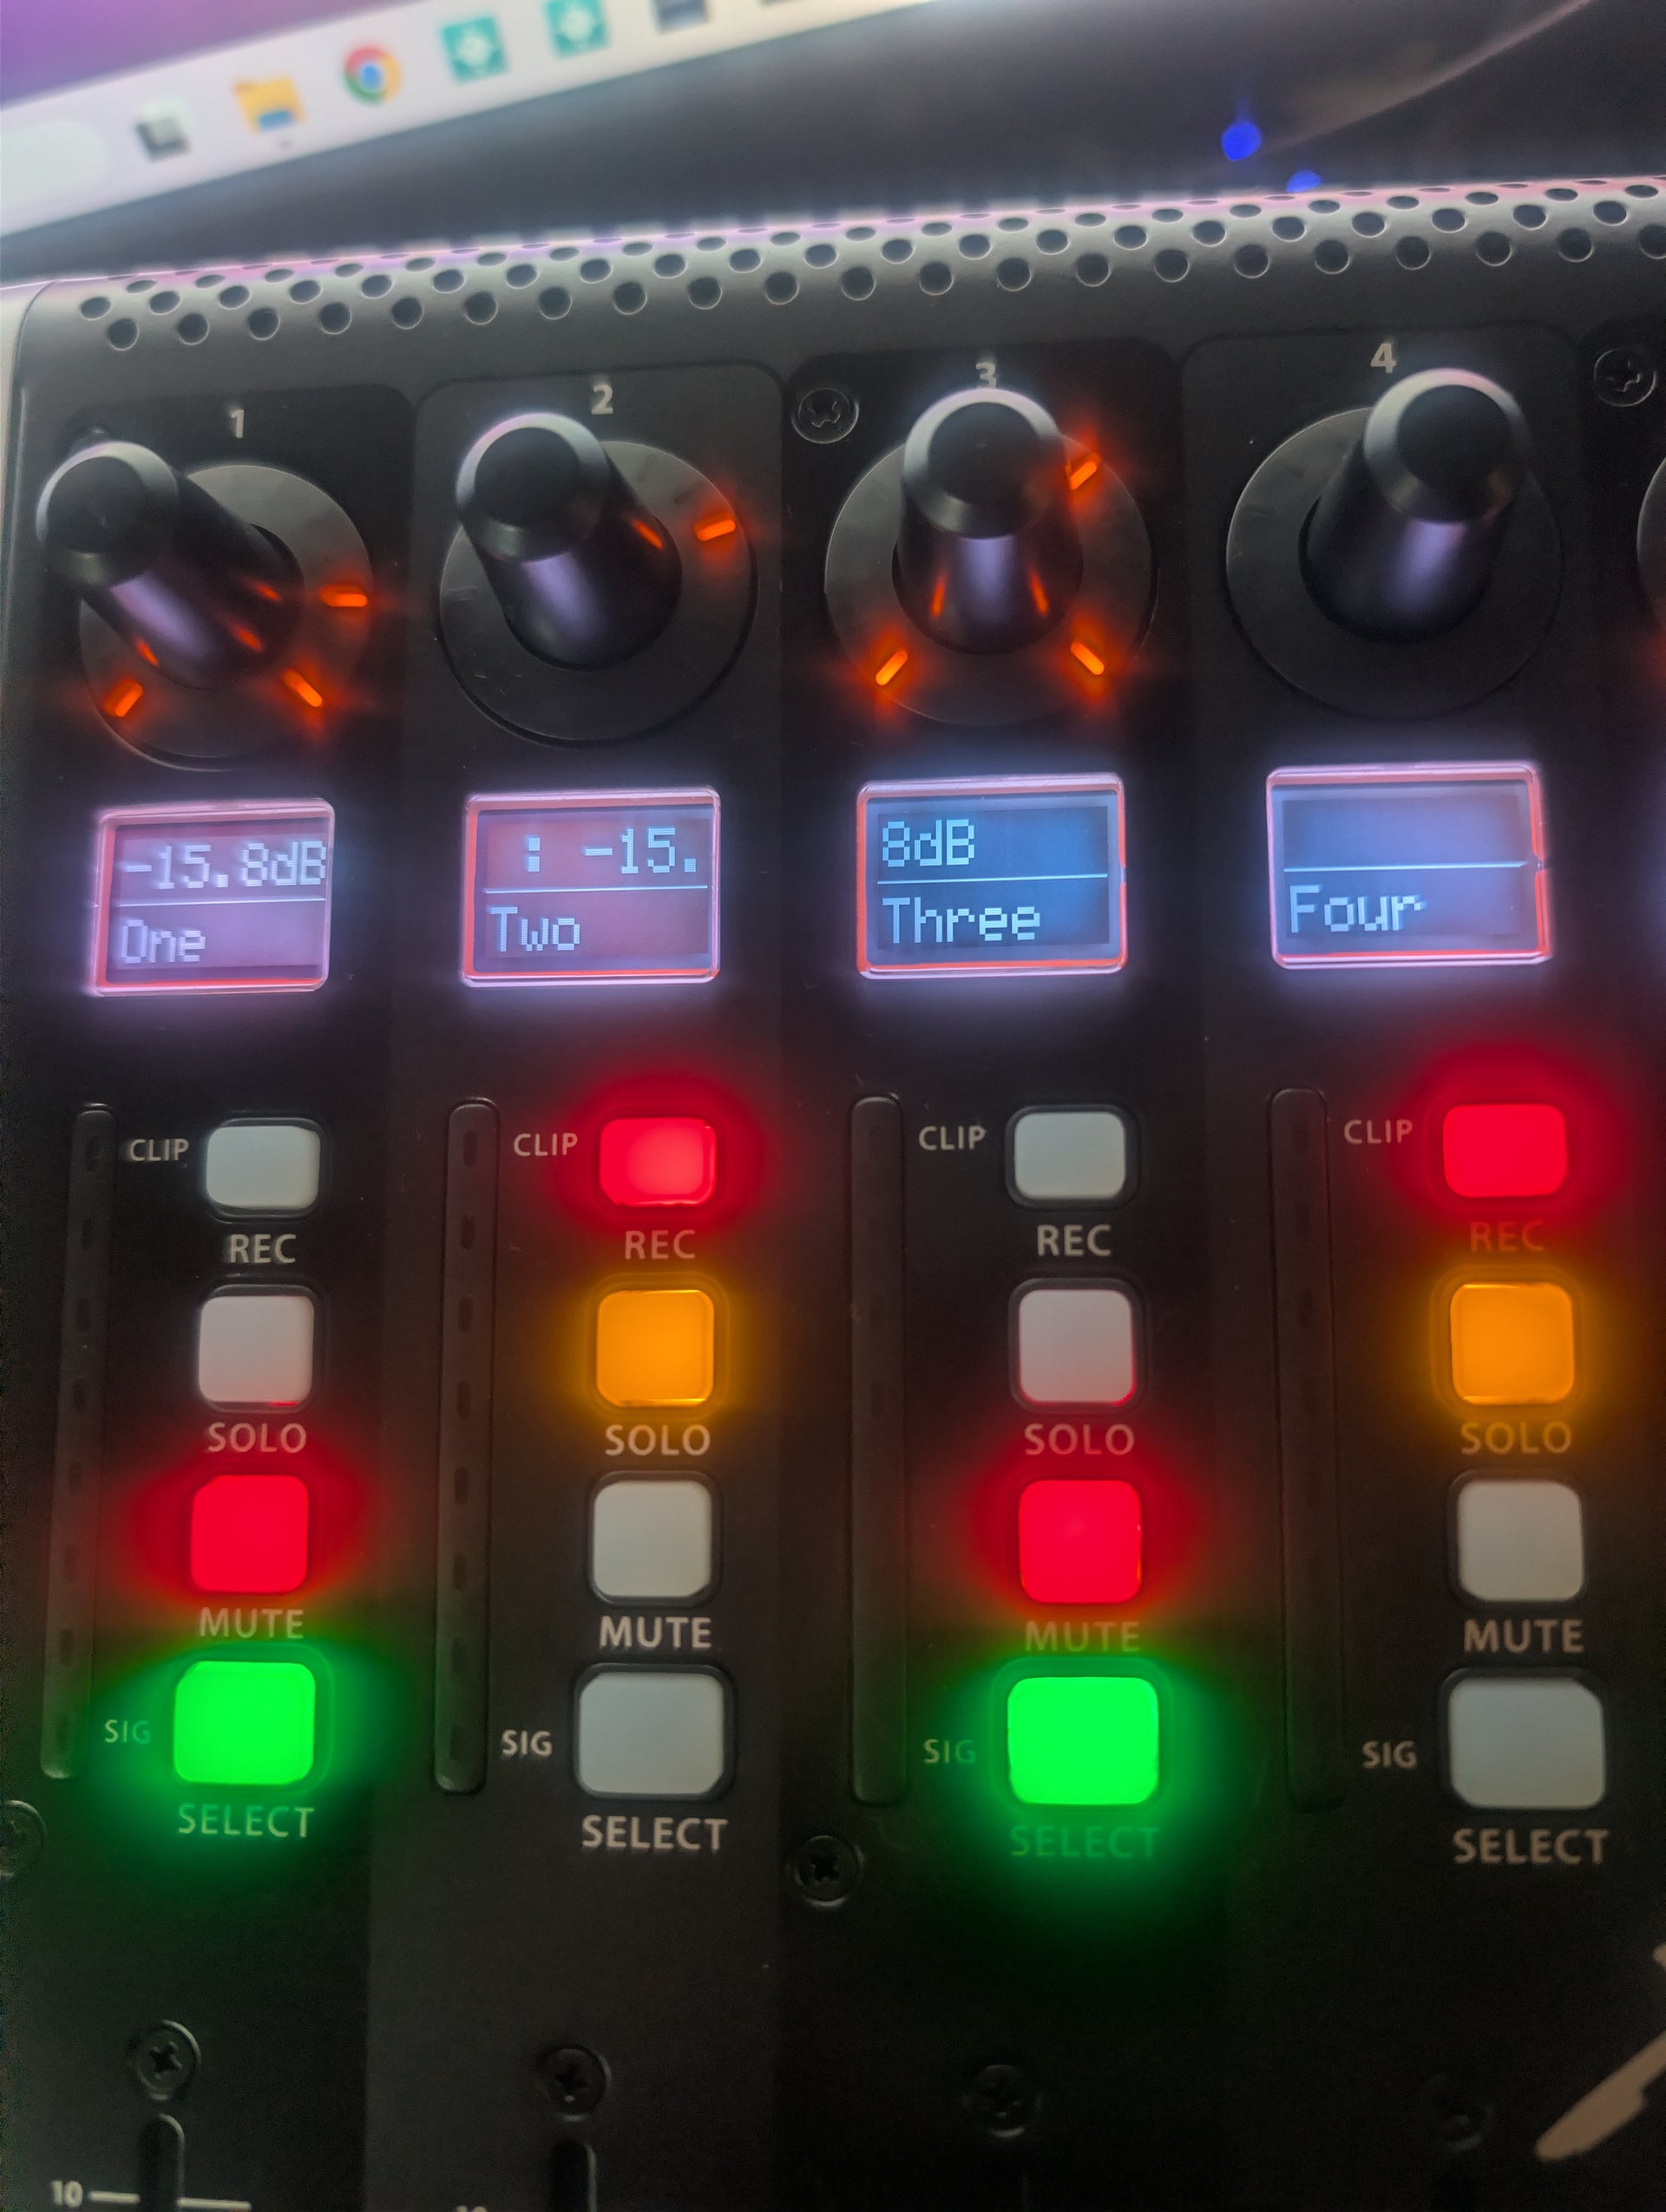
Hello, I understand how to use MCU Extension and indeed everything works without MIDI Learn or MCU Demo. However, I think there are probably some compatibility issues between the MCU and the Faderport 8. The LEDs on the solo buttons 1 and 2 don’t light up. I need to add the MIDI Learn feature I mentioned earlier. Regarding the text display on the Faderport, the dB values are displayed, but when I move a fader, the values change on several tracks. Also, it says “FaderPort 8 Mix” on screens 7 and 8. If you have any ideas, I’d appreciate it. Thank you.
Thank you so much for the update. I have receive my Berhinger X-Touch. All works fine.
I only have one remaining display issue on small screens. By default, fader values, for example, are only displayed for channels 1 and 2. I’d like the values to be displayed for each channel individually. I tried using the mc_fp_xxx_4 method, but it doesn’t work. Do you have any ideas? Thanks.
What’s happening there is actually the same for all of them.
On a unit where all the displays run together (like the original MCU and the P1-M+ like I showed above) it would be easier to understand what’s happening. The extension is set up to display whatever the last touched control is at the upper left corner of the display in the format “Label : text value”. In your pictures it’s not picking up a control label and is instead showing “text value : text value”.
So if you grab any knob and turn it, what you’d see there at the upper left might be something like “Lowpass freq : 187 Hz”. The reason I designed it that way is that if I’m adjusting something I like real time confirmation that the knob/fader I’m touching is controlling what I think it is (thus the text label part) and I can see the text version of what I’m setting it to, such as 180 Hz instead of just a 0-127 value.
The upper right of the display should generally be showing what bank you seeing on the display labels. In my example above it shows “B3 Upper : Faders b3up”. If I were to bank switch over the lower manual it would change to “B3 Lower : Faders b3low”.