Cubase does not allow an audio track to record it’s own output, nor can one standard audio track record the output of another. Group tracks can however be used as both sources and destinations, hence the 3-track audio solution for Cubase is to use a Group track in the middle.
Input Bus Method to Record GP Relayer Audio in Cubase
Tested in Cubase 13, 20240416
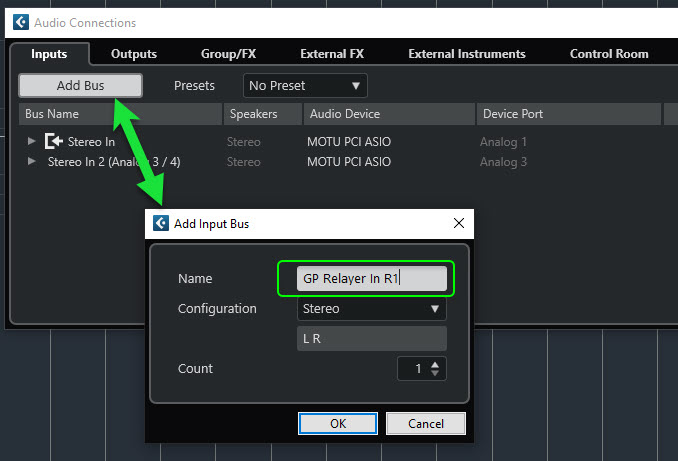
With this method, we will define a new input bus in Cubase to use specifically for recording audio from a GP Relayer. Using one or more input buses for this purpose allows one to avoid the need for intermediate audio tracks (3-track method) and have a simple, clean 1-to-1 correspondence of audio source locations in GP and audio recording tracks in Cubase.
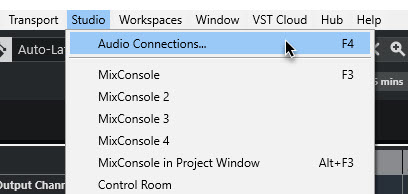
The bus is defined under Studio → Audio Connections.
You can name it whatever you like, but I suggest that putting the GP Relayer Relay # in the name will help to prevent any confusion later, and allow for easy association of where in GP the audio is actually coming from.
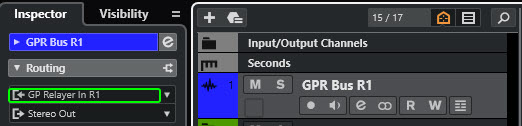
Here is the resulting bus. The system may have assigned hardware Device Ports to it. If so, probably you want to click on them and set them to ‘Not Connected’, as the intention of this bus is only to bring in audio from aGP Relayer insert.
On the MIDI side, the Cubase setup for recording is simpler, but quirky. You only need two tracks, but one of the tracks is an audio track even though you are recording MIDI !
The reason is that the GP Relayer VST3 plugin is, by type, an audio plugin (even though it can handle either audio or MIDI). As an audio plugin, it can only be applied to an audio track in Cubase.
Hence the requirement is to place the GP Relayer on an audio track, after which the MIDI output of the plugin can be seen and used as MIDI input to the 2nd track where you will actually record.
Below I show the two tracks in folder (titled ‘GPR MIDI Group 01’) together to make their association plain.
This thread made setting it up way much easier to do in Cubase compared to Logic.
One thing that has caught me out is if I have the buffer high in Cubase (for exporting) Relayer stops receiving any signal in Cubase. Now I know this it’s fine, but this did catch me out recently.
In my case it was 4069. I normally use 128 for recording and 4096 for export. I had forgotten to put it back to 128 after an export and this caused the Relayer receiver to not receive any audio or midi. Took me a while to figure it out but once I dropped it to 128 it all came to life. I repeated this a couple of times to make sure my findings were correct.