I’ve been a long time Gig Performer user and I use it primarily for guitar.
When I used real hardware I was never a guitar’n’amp kind of player and was always drawn to using lots of pedals. As soon as I moved to the digital domain I pretty much went to town with it and now use a whole stack of virtual pedals - plus multiple pre-amps, amps, and cabinets.
Gig Performer rapidly became the easiest way to manage all this but I really didn’t want have a laptop on stage with me - partly for the look (I confess) but also for the headspace it would put me in. I just didnt want to be in a trackpad-fiddling frame of mind while on stage.
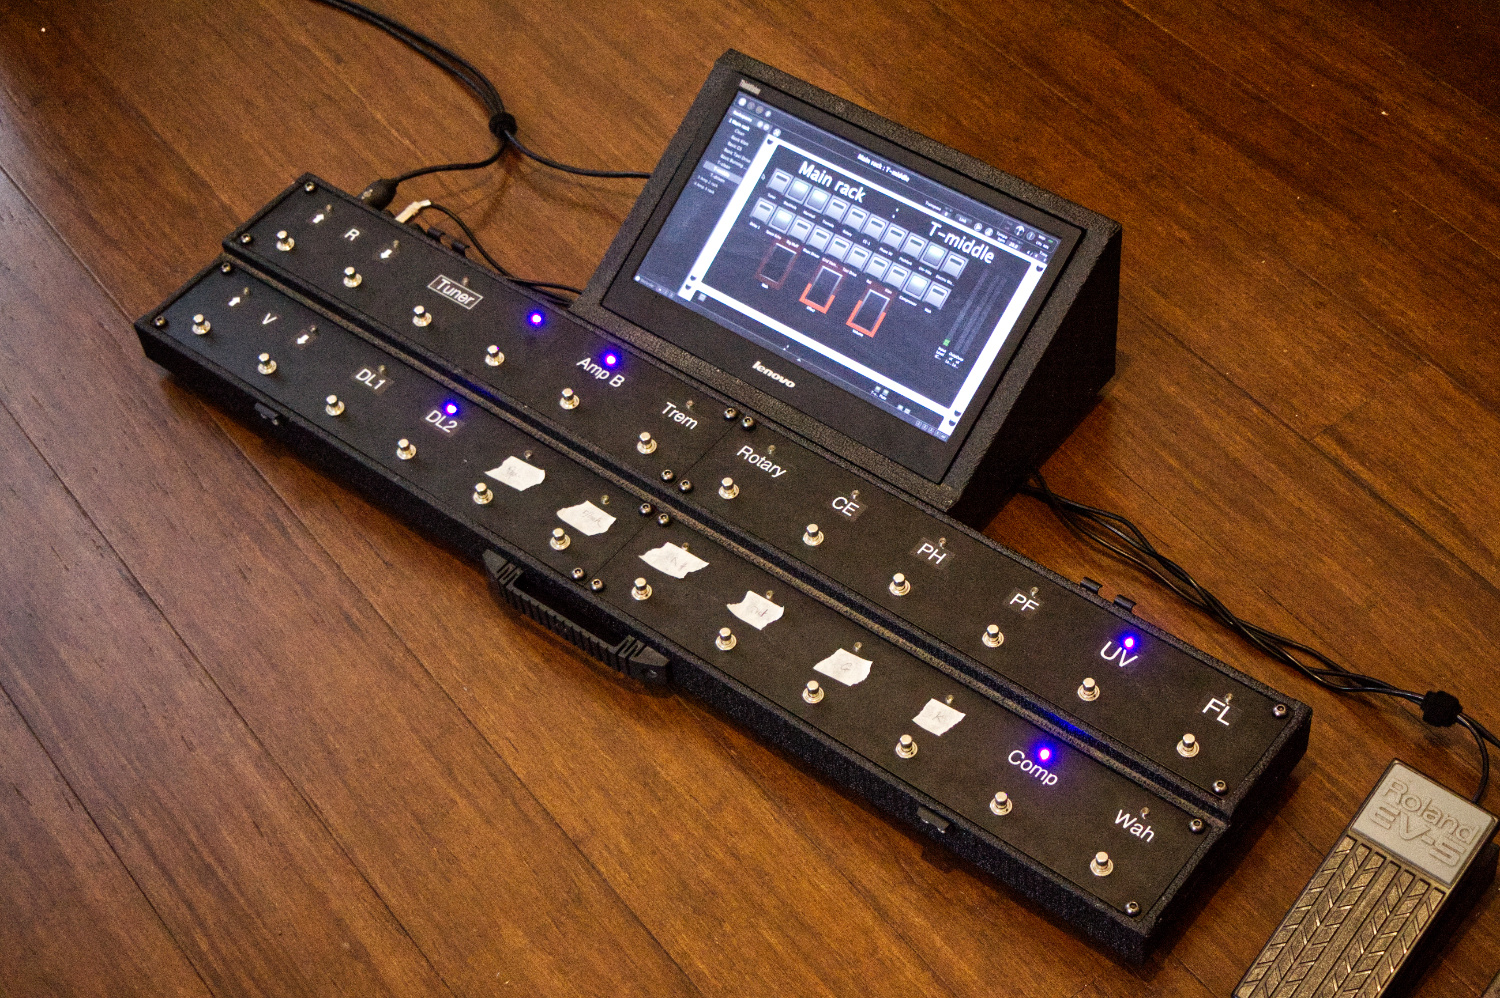
So I built a floor pedal setup with a shedload of buttons to control it all. It’s Teensy-powered (https://www.pjrc.com/teensy/) - so that means it’s like an Arduino and is programmed with C++ - and only needs a USB cable to get its power and to do all the MIDI stuff. I decided to put a screen at my feet and used a USB-powered monitor for that (it’s this one but I think there are better ones now: https://support.lenovo.com/au/en/solutions/pd015702).
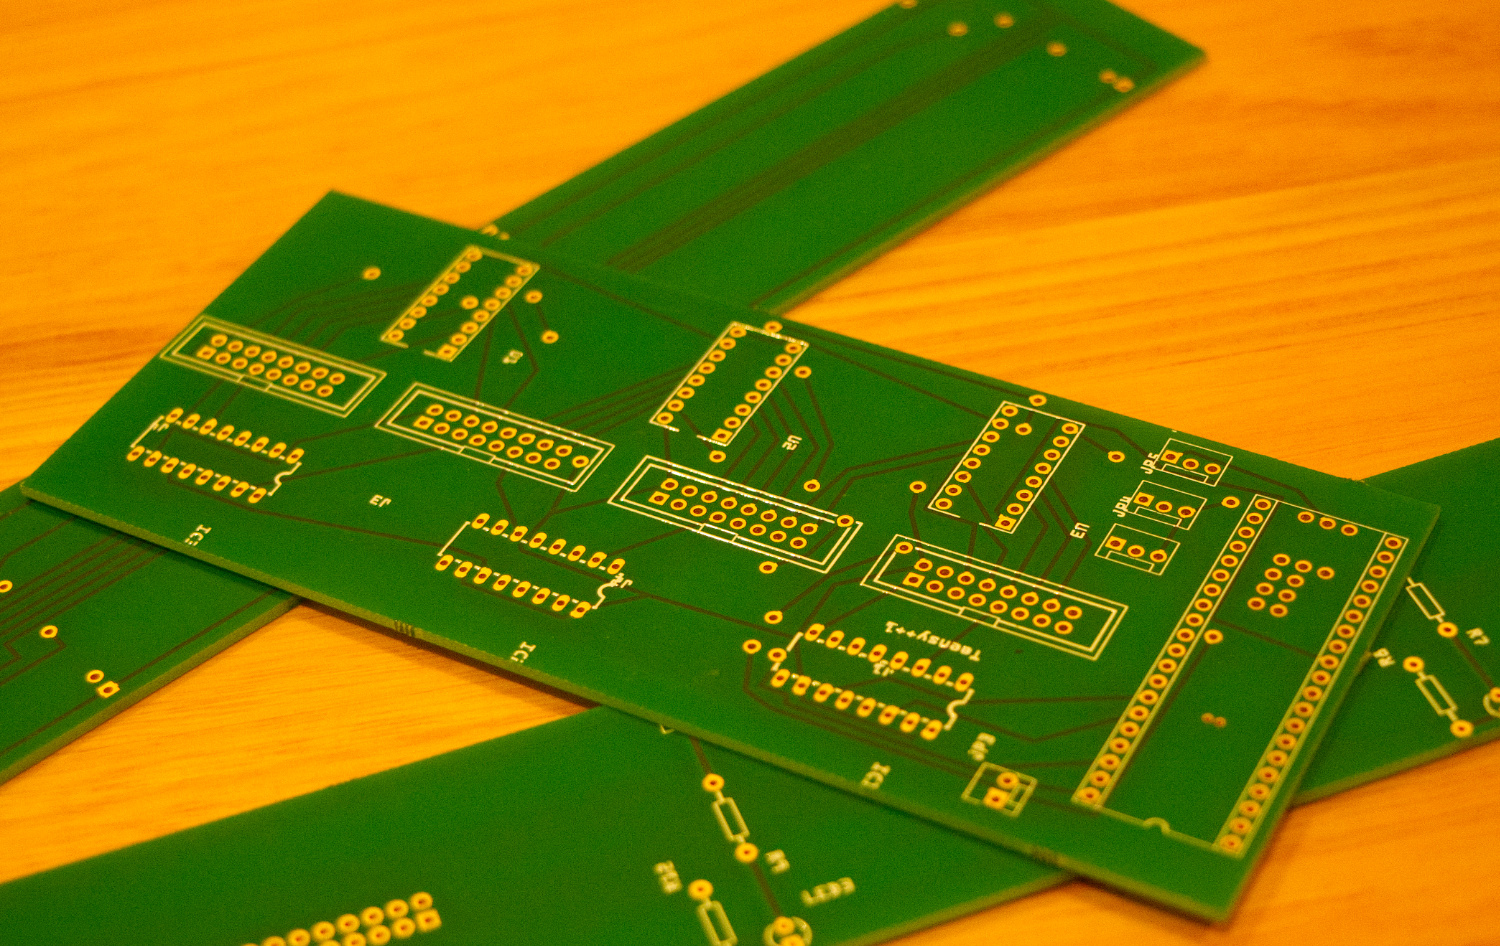
I built it first as a prototype with a harness of wires to all the switches and LEDs but that was too risky for stage use so I made some PCBs through Aisler (https://aisler.net/?lang=en-US) and rebuilt it.
USB will safely run 5m so I got Neutrik 5m cables (easily the best USB connectors for the stage) and they are long enough for me. The computer that drives this is a Mac mini in a rack that I place on a small keyboard stand but it could be anything you want to take on stage. A downside of not using a laptop is that I have to take a trackpad and keyboard with me just to boot up and control the Mac mini when I get set up - not a big problem in practice. I made a small sliding shelf in the rack for this.
In Gig Performer I have a button widget for each of the footswitches and these turn things on and off. Then using GP Script, I can easily get the state of each widget to be transmitted to the floor unit on activation of a variation. And the widgets naturally listen to the relevant footswitch just like they can to any controller.
I have three pedals - one for volume, one for wah and one that can be assigned to any plugin parameter per variation (e.g. reverb size or tremolo depth or speed) - again using GP Script.
The four buttons on the left hand end are used to switch rackspaces and variations (up/down for each).
I’m actually part way through re-thinking what buttons I use for waht - hence the masking tape labels on the floor unit. Gig Performer offers such great flexibility that it gets tempting to do this every so often! Perhaps one day I’ll add LCD displays to each footswitch so I can update the functions through GP Script…