AI tips.
When you assign an IP alias to an interface (like en0) via the command line using ifconfig, it works fine while disconnected. But the moment you plug in a cable or connect to Wi-Fi, the macOS network subsystem (managed by configd) kicks in, runs a DHCP request, and overrides or suppresses that alias in favor of the new lease.
To make a static IP truly “stick” on macOS—whether you are connected to a network or not—you have two main approaches.
[1] Method 1: The GUI Way (Create a Dedicated “Location”)
The cleanest way to handle this without fighting the macOS network daemon is to create a specific network Location. This allows you to switch between your “Isolated Static IP” setup and “Normal DHCP” setup with two clicks.
-
Go to System Settings > Network.
-
Click the Action menu (three dots icon at the bottom) and select Locations > Edit Locations….
-
Click the + icon, name it something like Static IP Solo, and click Done.
-
Select your network adapter (e.g., Wi-Fi or Ethernet), click Details…, and go to the TCP/IP tab.
-
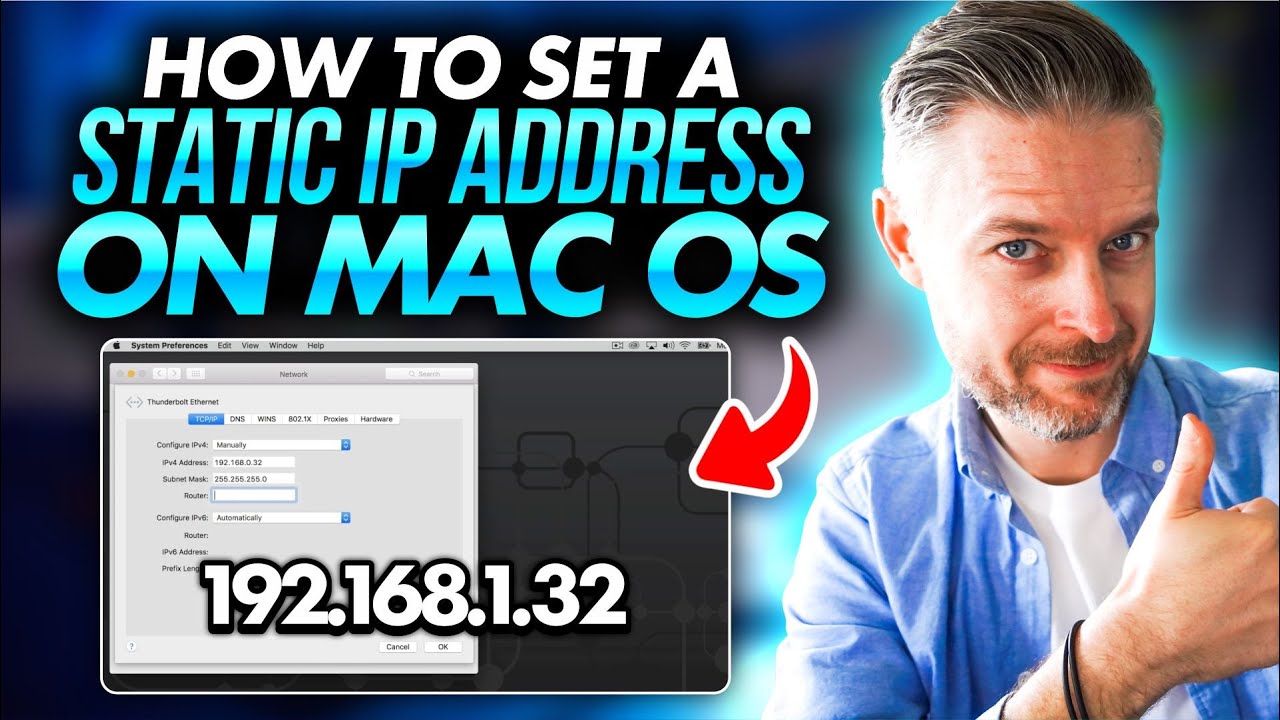
Change Configure IPv4 from “Using DHCP” to Manually.
-
Enter your desired IP address and Subnet Mask (you can leave the Router blank if you aren’t connecting to the internet). Click OK and then Apply.
Why this works: When you need your static IP environment, just switch to the Static IP Sololocation. When you plug into a live network and want standard internet access, switch back to your Automatic location.
[2] Method 2: The Loopback Adapter (Best for “Sans-Network”)
If your goal is to have a permanent, static IP address that is always available on the machine—even if every network adapter is turned off or plugged into DHCP—you shouldn’t bind it to a physical adapter like en0 or en1. You should bind it to the loopback interface (lo0).
The loopback interface is entirely virtual and never goes down.
1. Test it temporarily:
Bash
sudo ifconfig lo0 alias 192.168.99.99 netmask 255.255.255.255
(Note: Using a 255.255.255.255 subnet mask for a loopback alias prevents it from interfering with physical networks).
2. Make it permanent via launchd:
Because macOS clears ifconfig aliases on reboot, you can create a lightweight persistent daemon to apply it at boot.
Create a file named org.custom.staticip.plist in /Library/LaunchDaemons/:
XML
<?xml version="1.0" encoding="UTF-8"?>
<!DOCTYPE plist PUBLIC "-//Aple//DTD PLIST 1.0//EN" "http://www.apple.com/DTDs/PropertyList-1.0.dtd">
<plist version="1.0">
<dict>
    <key>Label</key>
    <string>org.custom.staticip</string>
    <key>ProgramArguments</key>
    <array>
        <string>/sbin/ifconfig</string>
        <string>lo0</string>
        <string>alias</string>
        <string>192.168.99.99</string>
        <string>netmask</string>
        <string>255.255.255.255</string>
    </array>
    <key>RunAtLoad</key>
    <true/>
</dict>
</plist>
(Replace 192.168.99.99 with your desired IP).
Then, set the correct permissions and load it:
Bash
sudo chown root:wheel /Library/LaunchDaemons/org.custom.staticip.plist
sudo launchctl load /Library/LaunchDaemons/org.custom.staticip.plist
Now, that IP address will live permanently on your Mac. It will respond to local services regardless of whether you are on Wi-Fi, Ethernet, or completely offline.