Okay, I think 15-20 minutes is doable – challenge accepted! ![]()
Hold my beer - ![]()
Preparations
You already have a Tasmota device – ideally the NOUS A8T Plug - ![]()
Important: it must be a Tasmota32-compatible device, otherwise the Berry console won’t be available!
You have downloaded the files from my repository - ![]()
You have already configured/run OSC in Gig Performer - ![]()
![]() Wait, what exactly are Tasmota and Berry?
Wait, what exactly are Tasmota and Berry?
-
Tasmota is open-source firmware for ESP-based devices, mostly used in smart home environments.
-
Berry is a scripting language that is implemented in a minimal form on a Tasmota32 device.
In our case, this means a NOUS A8T, which must be on the same network as the computer running Gig Performer.
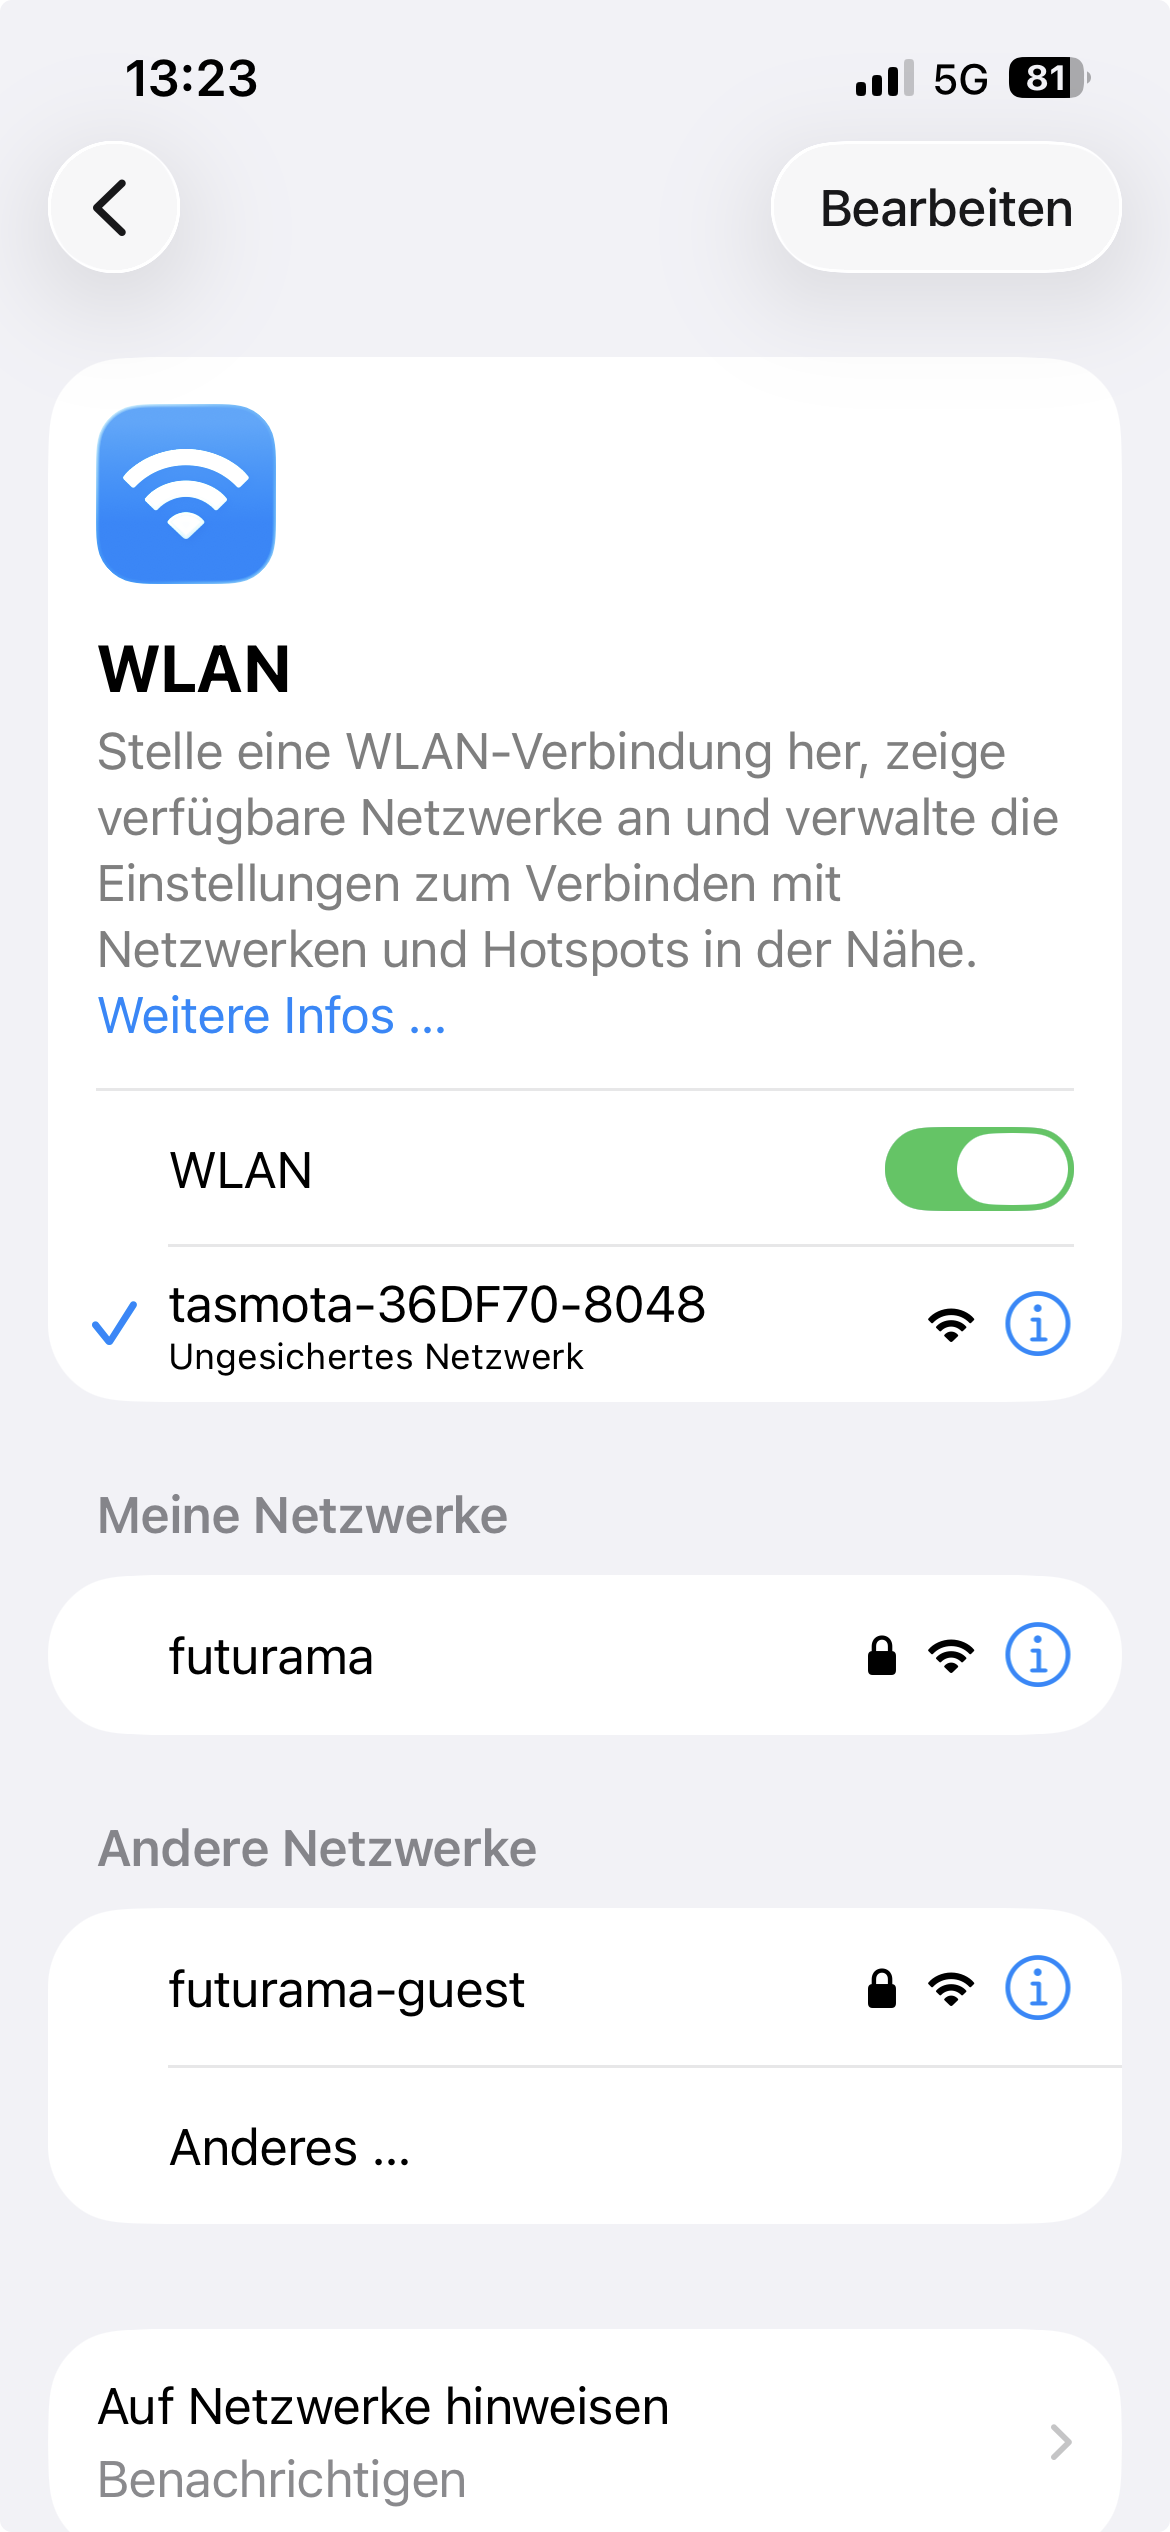
Step 1: Connect the Nous A8T to the network. First, connect it to the Tasmota device’s Wi-Fi network. The easiest way to do this is with a smartphone, e.g., an iPhone. Scan for new WiFi and select the tasmota device.
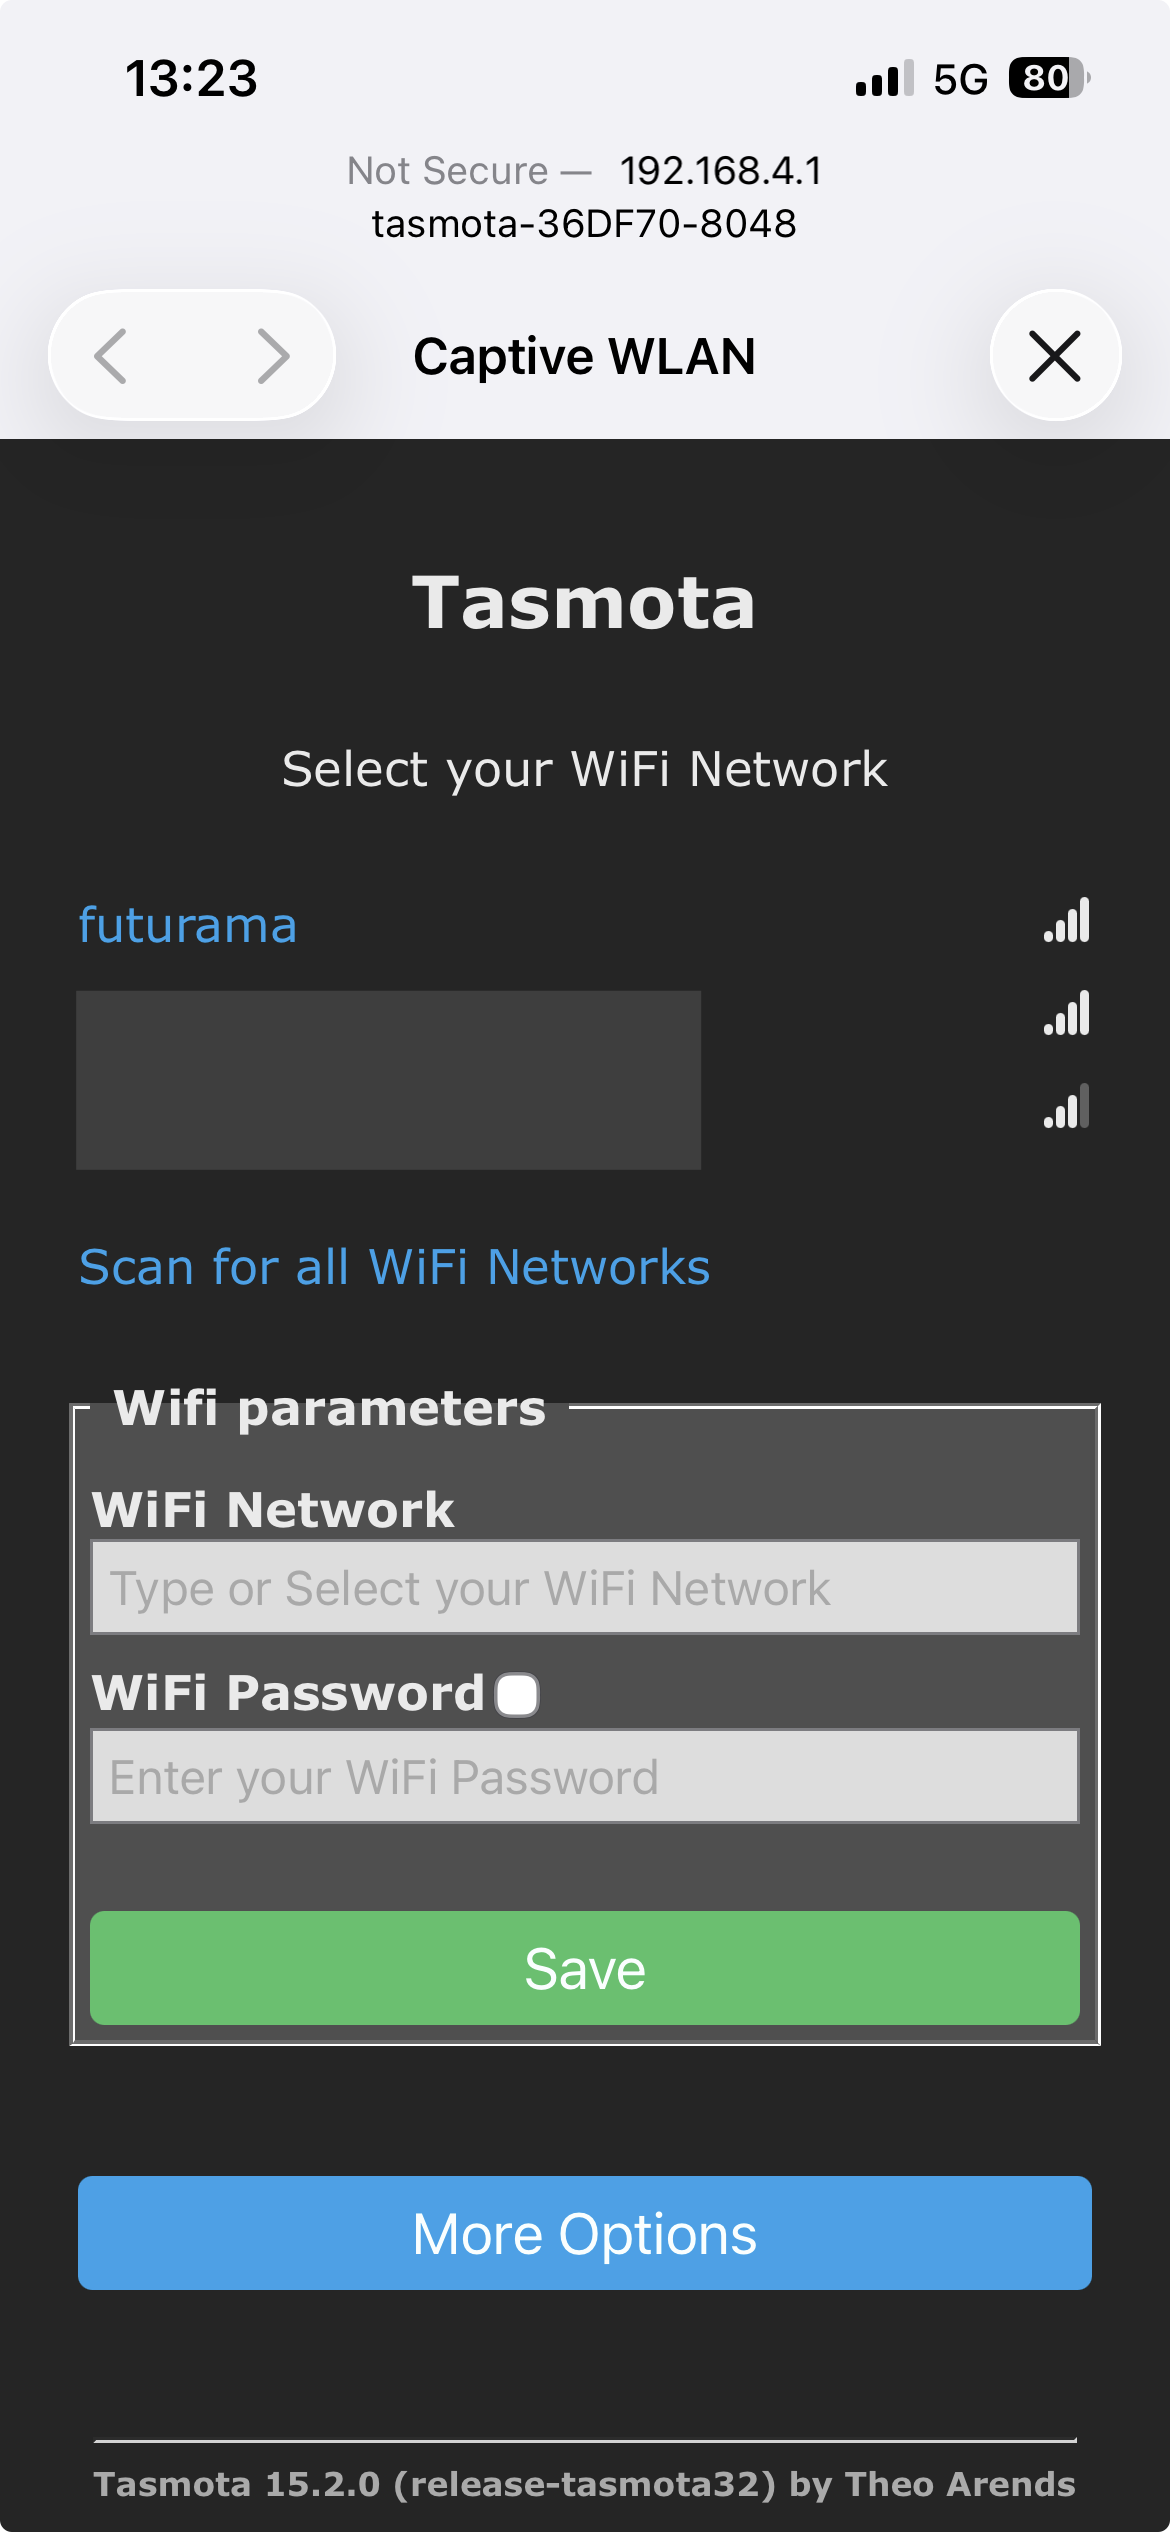
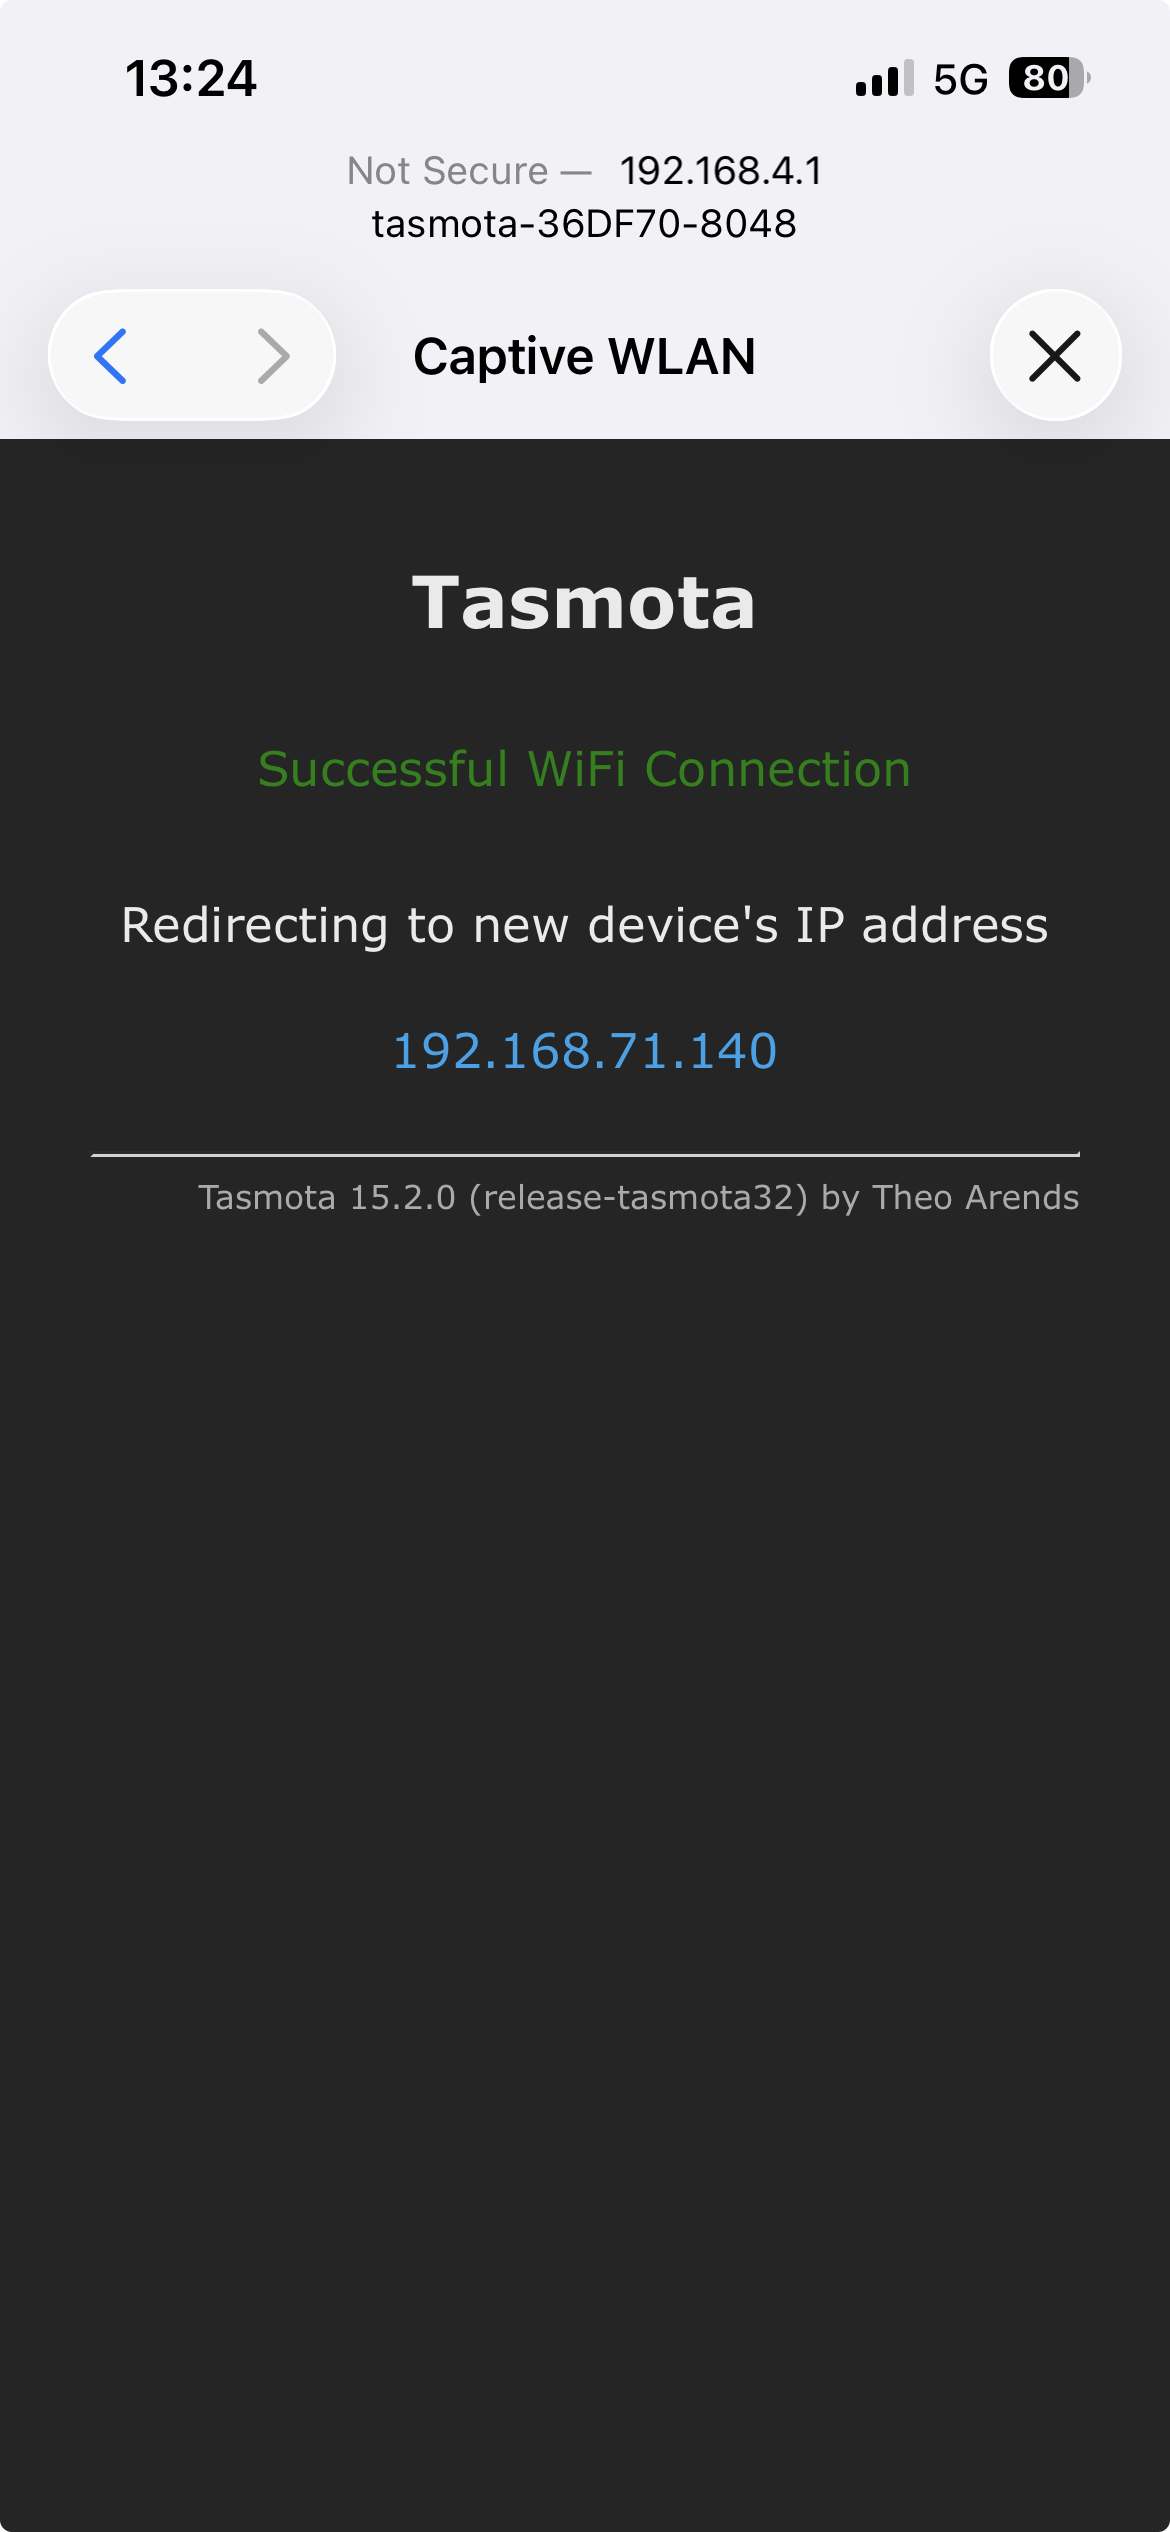
Follow the procedure on the screen, enter your Gig Performers Network(Wifi credentials, note the new IP.
Alternatively, you can use a PC, but it’s a bit more involved (connect, then open the address http://192.168.4.1 on that Wi-Fi network and start the Wi-Fi configuration). Restart the device, making sure to note the new address beforehand (see images above).
Okay, we now have a Tasmota device on the same network as our Gig Performer host - ![]()
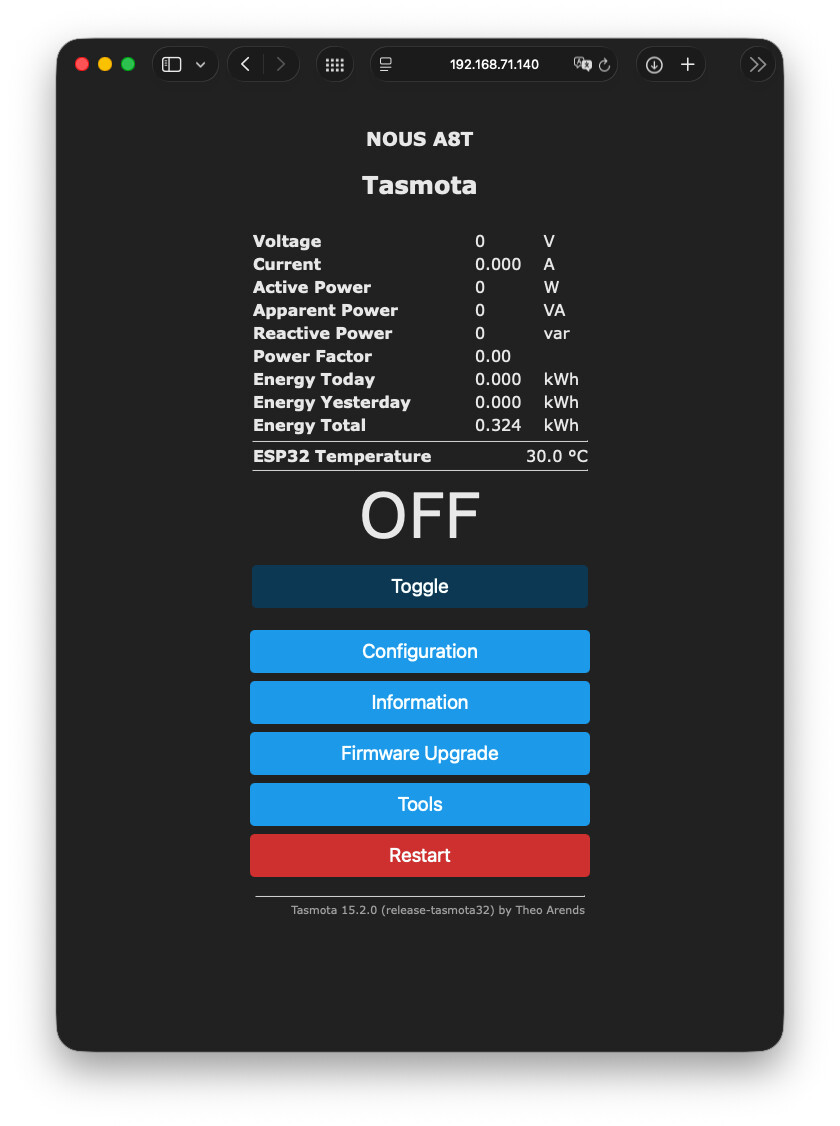
I’ll continue on the Mac now – access the Tasmota Nous A8T in a web browser using the noted new address (By the way: it’s recommended to either assign a static IP address to the Tasmota device or configure the router’s DHCP server to always assign the same IP address to this device…).
Now it might be a good idea to back up your device first (Configuration → Backup) - ![]()
Step 2: Now we begin the actual TasmotaOSC configuration:
Under Tools → Manage File System, upload the three Berry files (autoexec.be, osc_receiver.be, and osc_transmitter.be) from my GitHib repository.
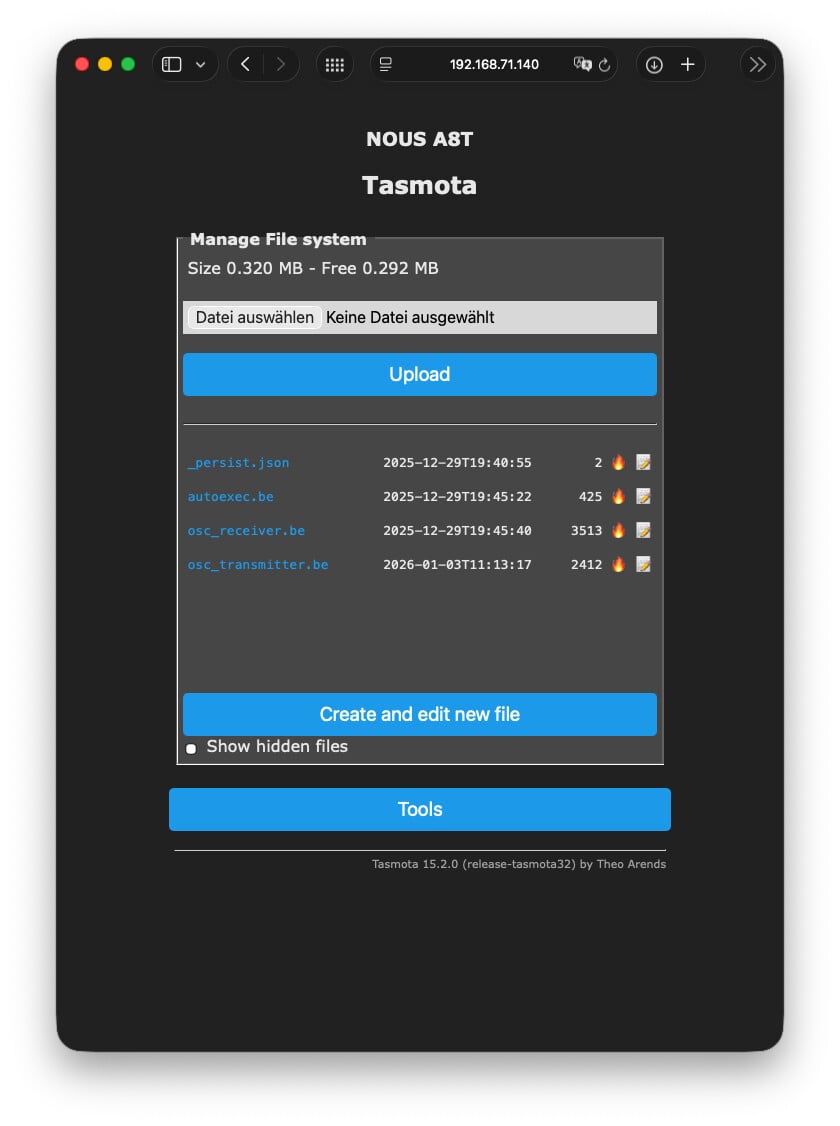
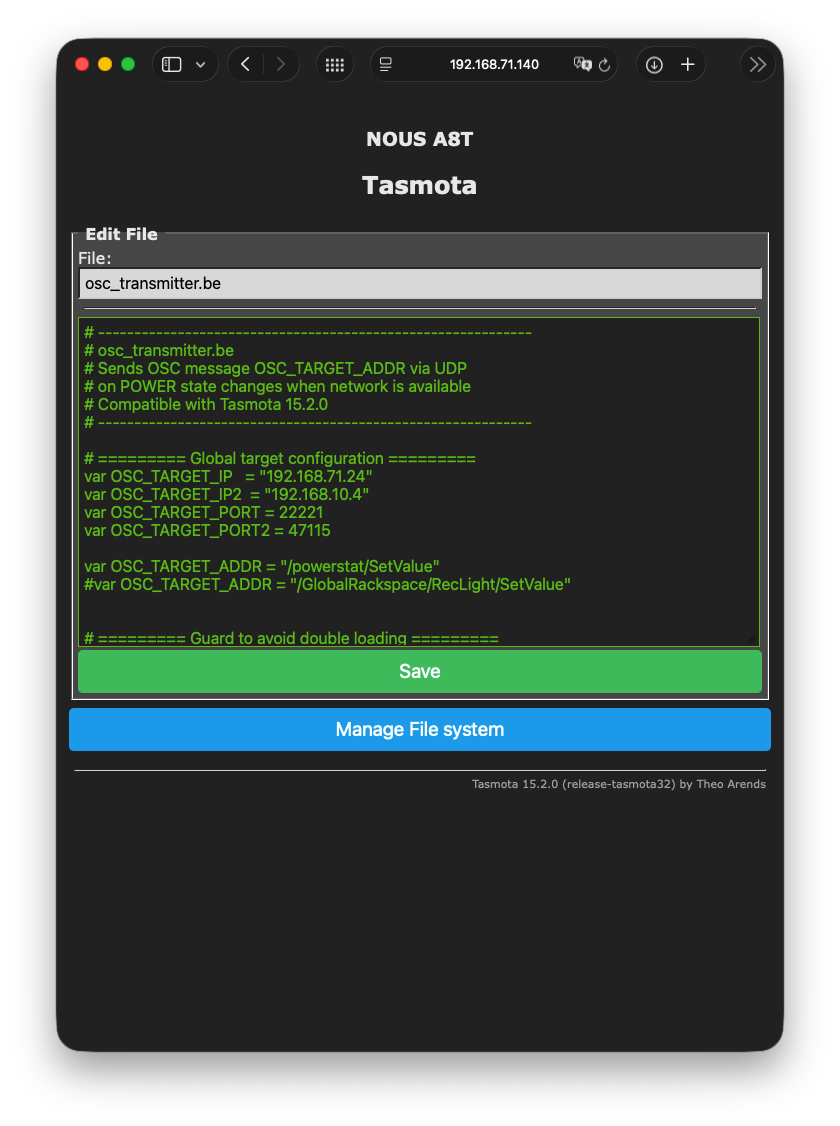
The files now need to be adjusted - at least the address and, if necessary, the OSC port for Gig Performer in osc_transmitter.be.
To do this, click the Edit button on the far right of osc_transmitter.be, make the necessary adjustments (adjust IP of your Gig Performer Host, OSC Port etc.), and don’t forget to save.
Finally, select Restart in the Main Menu, and everything should be working!
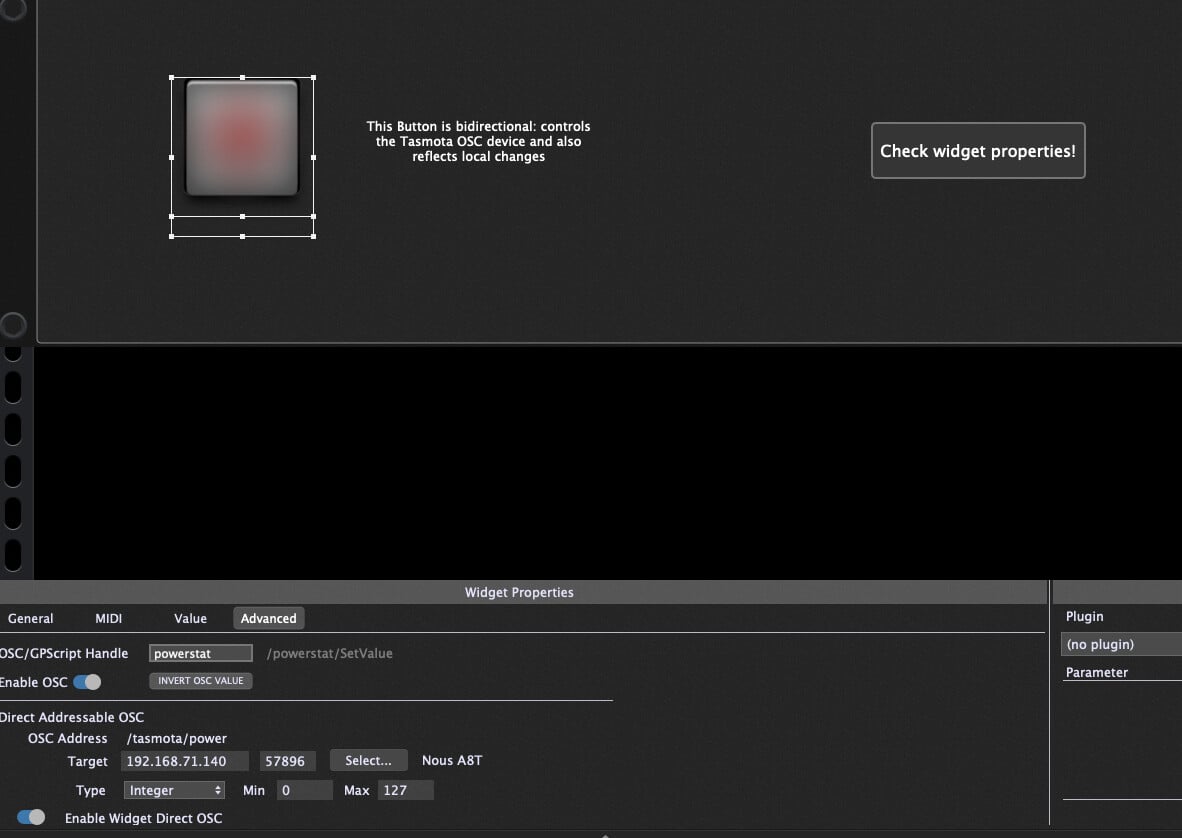
Load TasmotaOSC from my repository into Gig Performer and test it. Also, adjust the widgets in Rackspaces. Even better: create a new target in the OSC options and then simply select it in the widgets.

![]()
![]() Have fun - and let me know if more detailed information is needed!
Have fun - and let me know if more detailed information is needed!